Clean noise from VHS video with Neat Video
Applying Neat Video to a Sequence
You can find Neat Video at this address: www.neatvideo.com/. Once downloaded, install the plug-in (program).
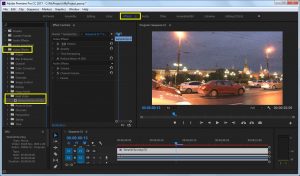
For example, open Adobe Premiere and type “Neat Video” in the search bar of your software, then launch it.
Try the automatic profile; Neat Video will automatically select a portion of an image from your video to analyze the noise frequency that needs to be reduced. Unfortunately, this automatic option doesn’t always work perfectly, so you may need to assist it by moving the small box to a clear area that accurately represents the level of noise (grain) in your video.

Now it’s time to play with the sliders, test as many times as necessary to find the right combination.
Once you’ve achieved satisfactory quality, apply the adjustment to the entire sequence, close the effect window, and let Neat Video work. This step may take some time; it’s advisable to have a powerful computer.

As explained in this article, test on as many sequences as compose your video file from a VHS cassette. Indeed, imagine, in a digitized file, having a video sequence filmed at night followed by another filmed during the day; the noise (grain) will be extremely different. Therefore, you need to indicate to Neat Video that these are two different sequences. Otherwise, Neat Video will apply the settings from your night sequence to the day sequence, and you may end up with a video that has no detail or contrast, presenting an extremely smooth and disturbing image.

